
One of my friends was running an event recently and she wanted to make some table decorations that were easy, quick, something a bit different and made an impact without breaking the bank.
We decided on paper flowers using a simple circular template that we could create from the top and bottom of one of our cups.
|
|
The tools for the job:
|

Using the cup I drew one big circle and five small circles.

|
Then take the circles and cut about halfway to the middle. Run the Glue Roller down one side of the cut. |
Create cone shapes. |


|
|
With this one I layered in the cones as before and glued in a small pom pom with the Glue Roller
|
 There are lots of configurations you can use, here I layered the cones, sticking each one in with the
|
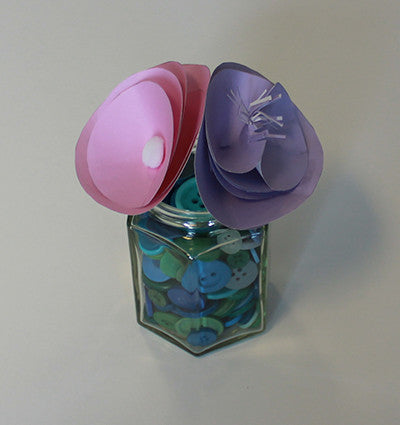
Then I filled up a jar with blue/green buttons... |
And placed the flowers on top, making it look like some flowers in a vase. |


|
For extra height we added stalks by using green card folded over itself. Making a split at the top I used the Glue Roller to stick them to the base of the flower. |
We then added the flowers back into the vase with the buttons. |


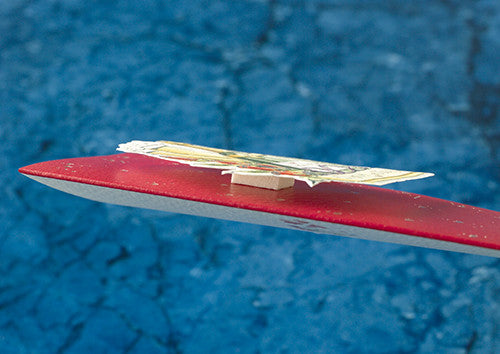
The Glue Roller was great to use as it created an immediate bond, so there was no waiting around for glue to dry.
Leave a comment
This site is protected by hCaptcha and the hCaptcha Privacy Policy and Terms of Service apply.