

One of the biggest trends at parties and celebrations is a balloon arch. Absolutely perfect for insta photos too may we add! They are so easy to make and have a brilliant impact. They’re a quick way to take your party to ‘soirée’ in no time at all and for virtually next to nothing cost wise too!

Follow our easy steps below to create your perfect balloon arch and what you should consider before making your arch.
Things to consider before you make your arch.
1. Think about your colour scheme, and do you have a theme?
What are you celebrating? Are there colours that will be more appropriate for your occasion? If you’re celebrating a christening, white, golds and neutrals work a treat! Or maybe you’re throwing a Halloween themed party, then oranges, blacks and golds can give your shindig a spooky feel. We tend to think that 3 or 4 different colours give your balloon arch the perfect balance of colour and a nice amount of contrast but really it is all down to personal taste.
2. Think about how you will fill your space.
What walls will you be attaching your arch to? Does this determine the balloon arch shape? Planning your balloon arch around your space is definitely the easiest way to go. Plus it will be a lot easier to envisage what your final design is going to look like.
3. Think about what shape you are trying to create.
You’ll also have to think about the shape. You can create a traditional arch or get even more creative and experiment with slightly different shapes like the square arch below.

Step by step how to make your balloon arch and what you’re going to need.
What you’ll need
-Wall hooks (with adhesive backing)
-Balloons - 3/4 different colours
Tip: you could even add patterned balloons to the mix too!
-Balloon pump (believe us, it will make life a lot easier for your lungs!)
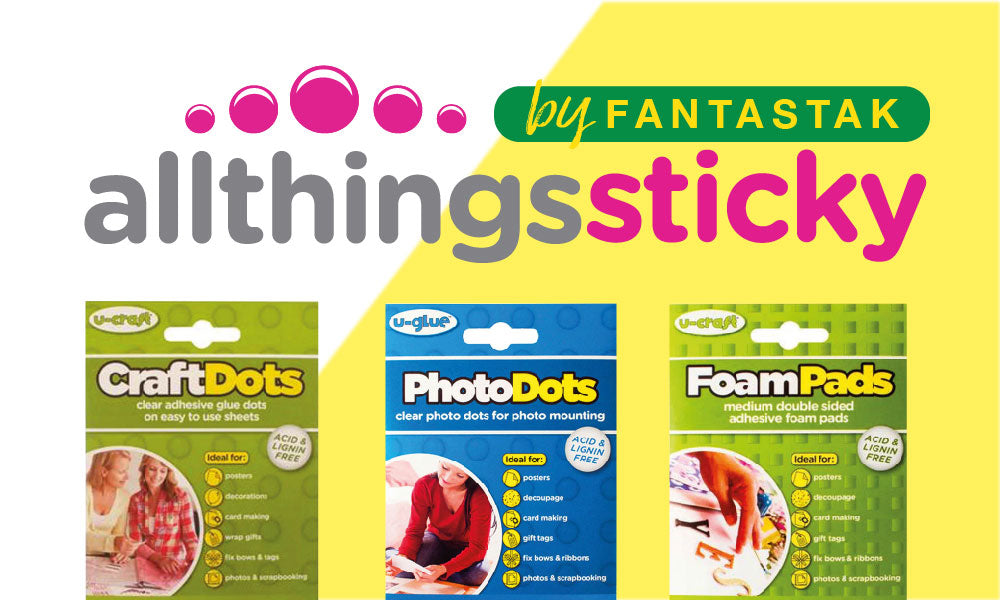
-All Things Sticky Sticky Dots
-Balloon strip
-Any extra decorations you’d like to include in your design (optional)
Tip: foliage can look very effective included in your balloon arch design.
Blow up the balloons
1. Blow up your balloons with the balloon pump. Making your balloons different sizes to add contrast in the final arch. The smaller sized balloons will be ideal to fill in any gaps in the arch later on and make it look defined.
Arranging time
2. Arrange your balloons into the balloon strip using the larger sizes first. This works by simply popping the tied bit of the balloon through the holes. Remember to leave holes available for putting the wall hooks through too later on.
Attachment
3. We recommend attaching your arch to the wall before filling in the gaps with your smaller balloons. This allows you to see the arch in it’s final position before making the final adjustments and you’ll also be able to judge the placement of the smaller balloons more effectively.

Attach your hooks using the sticky adhesive they have on the back to the wall, one by one. Create the shape you want with your hooks.
Next take your balloon arch and using the holes already in the strip attach to the hooks.
Fill the gaps
4. Now your arch is attached to the wall you can see where you need to fill the gaps in your arch. This is where the glue dots or sticky dots come in! Take a glue dot or two and stick to a larger balloon, take a smaller sized balloon and secure where the glue dots are. Repeat this process until all your gaps are fill
Final touches
5. If you’ve chosen to add additional decorations to your arch like foliage, this is the time to attach it! You can easily use your glue dots to attach these too. Simply poke the foliage through the balloons and secure with a glue dot. You should remember not to use any decorations that are too heavy for the balloons to support.

Enjoy taking lots of pictures in front of your fabulous balloon arch! And don’t forget to share them with us. Tag us in your pictures and we’ll share our favourites!
Instagram @allthingssticky_
Facebook @allthingssticky
Blog by Content Marketing Agency | Search Buddy – Digital Marketing Agency in Leeds

Leave a comment
This site is protected by hCaptcha and the hCaptcha Privacy Policy and Terms of Service apply.