
With the last weekend before Christmas on the horizon we've been crafting these Christmas Paper Stars, great for some last minute decorations.
See the steps below to see how we made them! You will need;
Paper or card
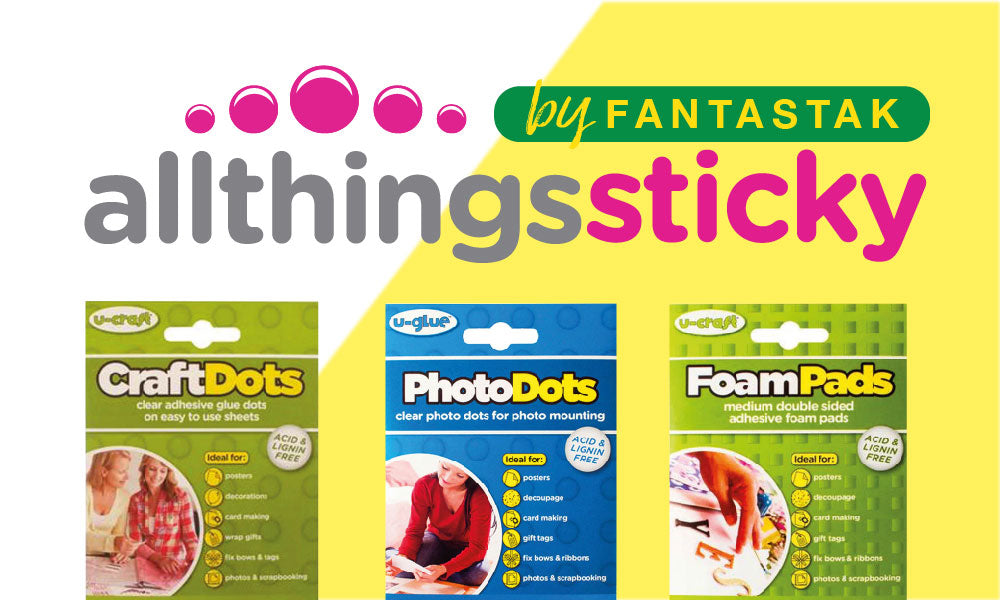
Glue Tape Roller - High Strength adhesive is best. We used our own Handy Roller for this bit
Scissors
Stapler
Clear thread (for hanging)
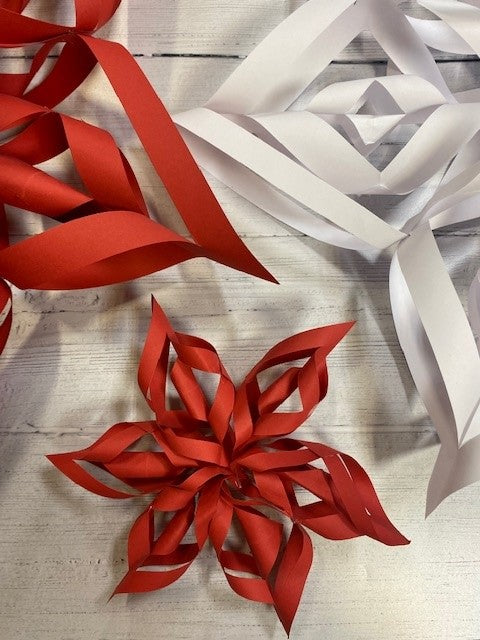
Star by cutting your card or paper into squares, you will need 6 of these at the same size. Fold this into a triangle once, and once again.
Once you have this shape cut two (you can experiment with more once you have the hang of it!) cuts across the triangle. Make sure to not cut fully across and leave a small gap at the end - see picture below.

When you open this out it should look similar to the below

Add a small bit of adhesive on the corner of your inner triangle and close the two edges to meet and stick together. We used our Handy Roller here as they create a hard wearing and instant bond on the paper. No need to wait for drying times!
Repeat this with your next piece but fold them the opposite way, creating more of a cylinder shape.


For your final piece fold this the opposite way again and it should look similar to the below. Do this for all 6 pieces.
When you have all 6, collect them together in the middle, and staple them to secure them together. At this point you will have the start of your star shape.


Finally just to secure this shape you can stick or staple the edges of each point together. We did this on our larger pieces to hold their shape together when hanging.

They are a great option for tree decorations or even adding to your gift wrapped presents. We will be hanging them in the window this weekend using some clear thread, you can experiment with different sizes and paper colours!
Let us know how you get on!

Leave a comment
This site is protected by hCaptcha and the hCaptcha Privacy Policy and Terms of Service apply.